Built by Harvey, in:
ovens images gallery
New: fresh photo library
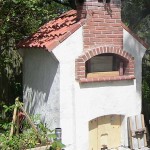
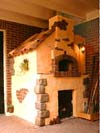
Oven by bricklayer
This oven was built by a bricklayer, a professional trade person who already retired, who can lay and mortar house bricks together faster then, even an younger, non-bricklayer.
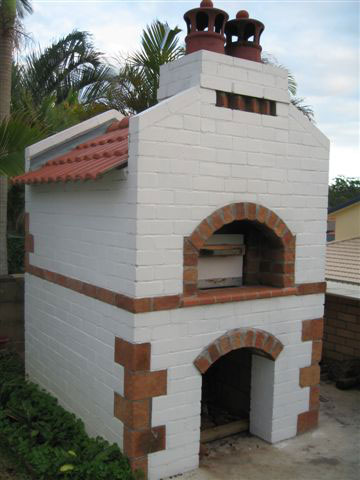
Oven's name: Bricklayer oven
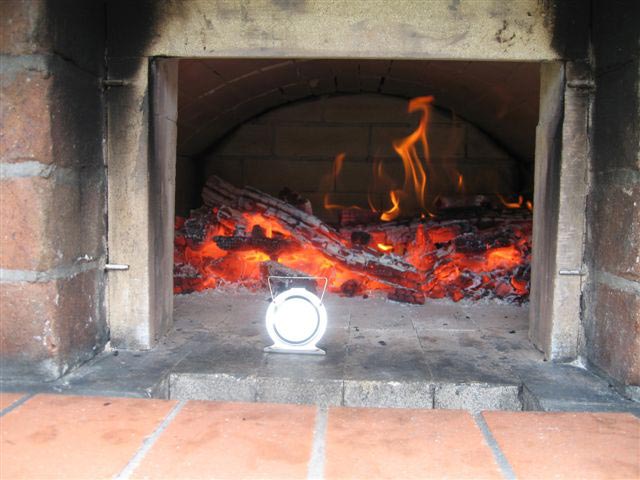
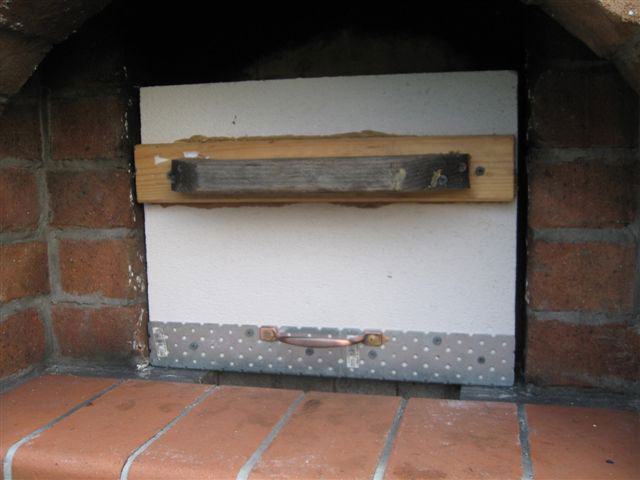
Photo by: Harvey
Location: Coffs Harbour, NSW, Australia
Title: Using our oven for 1 year - a great success.
Description: G'day Rado,
your records will show that about 2 years ago you sent me your CD for the Masterly oven. We have been using our oven for about 1 year - it's been a great success. I would like to give you some feed back on a few things.
We had our oven built by a retired bricklayer so, got a very nice job. The cost was worth it. Your plans were followed except for 3 key points.
First, The bricklayer suggested that the dome of the oven follow the same radius from rear to oven mouth. In other words the dome did not dip down at the entrance like an igloo. His reason was that he was concerned that the slope down would tend to push the smoke/exhaust past the chimney and out the entrance of the oven. As it turned out I felt after a few months of operation although the oven drew well and exhausted up the chimney, it was losing too much heat out eh mouth. To alter that I added a head to lower the top of the entrance below the line of the top of the dome. This was done using a piece of ceramic shelf from a pottery kiln. At the same time I was able to ensure that the surface of the door gave a good seal when the oven door is in place.
Second, the bricklayer was concerned that the steel lintel bar for support of the dome at the oven mouth risked too much movement and therefore cracking in the oven. It was deleted. this was the other reason for the dome being the same radius at the oven mouth as at the back. This seems to have been good advice as we have minimal expansion cracking in the front wall above the oven door when the oven is in operation.
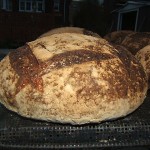
Third, I originally used your plan for a hardwood door. It worked OK but was affected badly by the heat of the oven. Recently I made a new door using a block of Hebel aerated concrete. Today we used it for the first time and I can tell you that it has radically altered the performance of the oven.
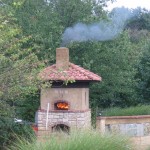
To describe, I lit the oven at 9:40 AM, last wood in at about 12:40 PM - 3 hour firing but I took intentionally longer time than I had to. At that time we had 600 F = 316 C at the oven door (entrance). Pizzas cooked at about 1:45 PM and coals removed at about 2:30 PM and door closed. Bread cooked from about 3.30, tomatoes and quinces cooked from about 6:00. A short time ago (10:10 pm) the temp was still above 300 Celsius high at the centre of the dome! This a marked improvement on oven's previous performance (especially the temp at around 6:00 PM when it was around 450 Fahrenheit = 232 degrees Celsius) so compare.
The wonderful Hebel material is available in blocks 600 mm x 200 mm x 50 mm or 600 mm x 400 mm x 100 millimeters. I used the latter to avoid having to join two smaller blocks together to speed up my job progress. Hebel material can be easily and fast cut with a hand held saw, drilled too with easy care, glued to attach handles using wood. I added some light steel angle on bottom edge because Hebel is a bit crumbly if knocked around more. The block cost me about $7.50 each, cheaper than the 200x50mm hardwood panel I used for the original door.
It also seems that it is important to get a good seal at the oven door.
Thanks for your inspiration and also, especially, for your amazing website.
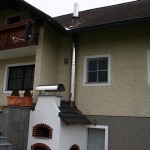
See two pics attached, one taken a year ago and the other of the fire of today.
Thank you very much again for all your great help, much appreciated. Bless you.
Best wishes,
Harvey
Coffs Harbour, central N.S.W. coast.

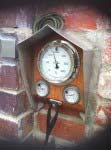
Jamie and Katrina's brick oven with temperature gauge, in Victoria.-
Baking sourdough breads in quantity in Canada -
Wood oven and meats cold smoker by Reinhard in Clearwater, Florida -
Pompeii brick pizza oven. -
Pizza oven and hut built by Tony in Philippines -
Wood fired family oven and chimney project by Robert in Austria
Oven info & galleries
- Home Page
- Oven building CDrom details
- Pizza ovens
- New gallery
- Oven meals
- Vintage forum
- Rectangle shape vs. round igloo
- Building details
- Refractory concrete
- Heat resistant mortar
- Concrete cladding layer
- Thermal insulation
- Fire-bricks
- Fire-clay
- Saving money & time
- Good thermometer
- Oven building 1
- Building oven 2
Tutorials
![]() by Rado Hand
by Rado Hand