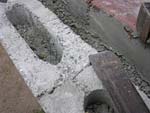
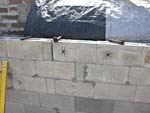
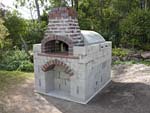
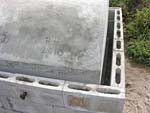
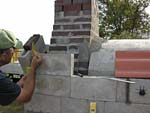
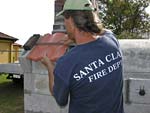
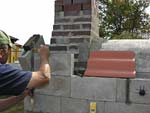
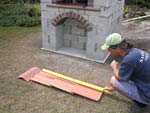
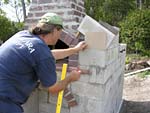
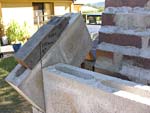
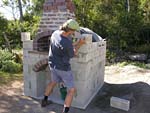
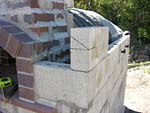
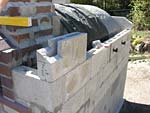
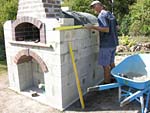
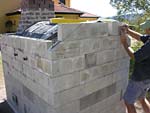
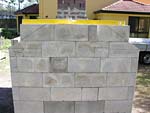
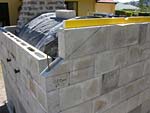
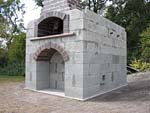
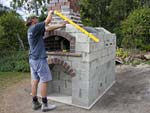
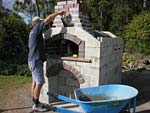
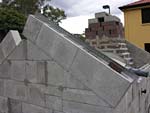
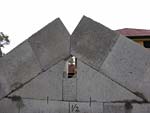
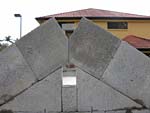
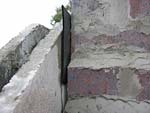
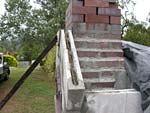
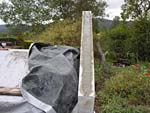
Finishing work on cement block walls
Finalizing work on cement block walls.
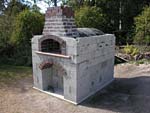
Masterly Tail oven design (3G MTo) – 3G MTo Main Page
Pointers:
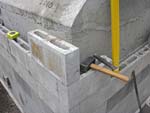
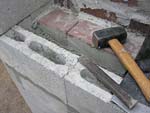
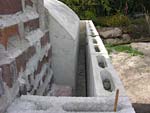
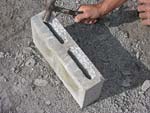
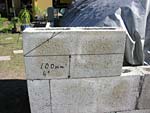
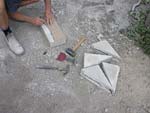
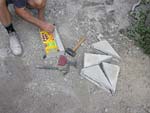
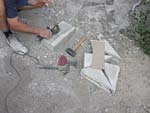
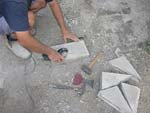
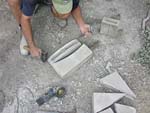
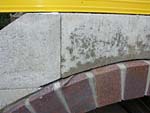
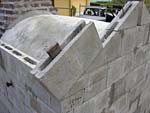
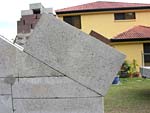
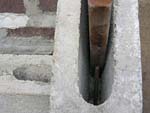
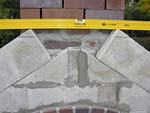
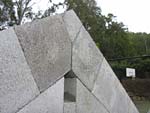
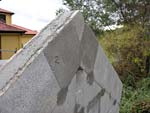
1. Only very little concrete is needed for filling these small size cement blocks. Not much block cutting is needed to make these walls. Because all triangular off-cut pieces are put back into the front and back walls, they fit in there like a jigsaw puzzles. This way the walls are finished quite quickly. At around this time, we were getting heaps or rain for days which was slowing the building progress to some extend.
2. To fill these thinner sized cinder blocks, as they have the hole inside much narrower, it is much better to use any concrete blend with smaller stone in it. It is also possible to remove the larger pebbles from larger mix, manually like I did (bought only one sort to save money.) Luckily for this job just a few buckets all up of this concrete is required.
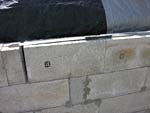
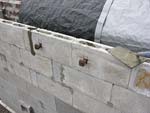
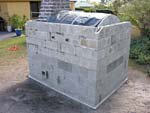
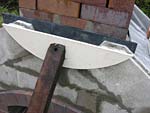
Finishing the block walls
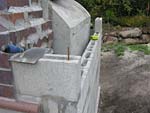


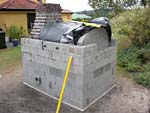
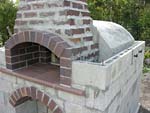
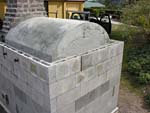

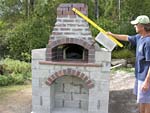

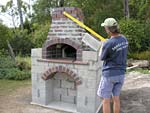
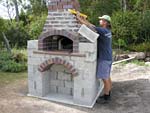
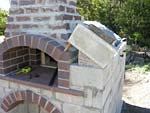
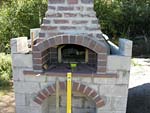

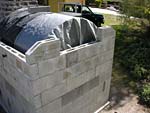
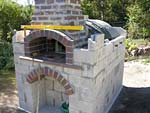
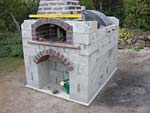

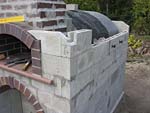
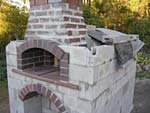
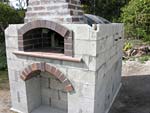
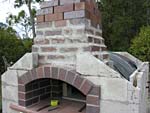
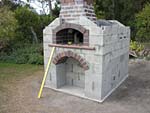
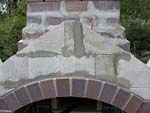
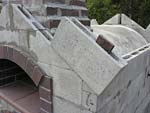
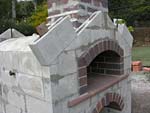
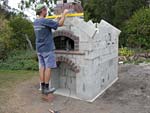
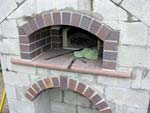
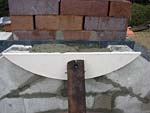
Images #2307 to #2346 – If you plan on finishing the oven’s top in a round shape on the outside (by shaping the top with insulation applied in 3 to 4 thinner 1 inch layers), without the ‘A’ shape tiled roof, around this stage is the time to do it. Then some quick render and weatherproof/plastic paint on masonry.
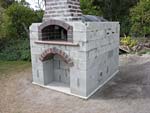

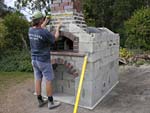
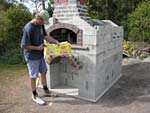
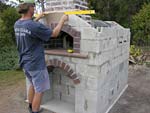
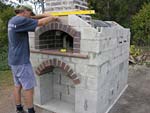

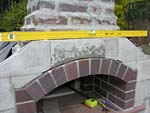
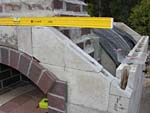
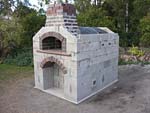
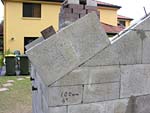
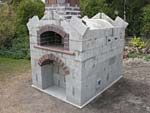

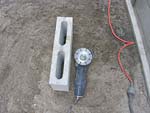
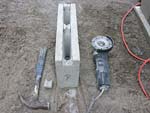
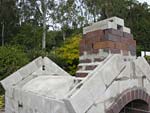
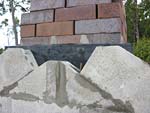
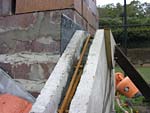
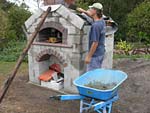

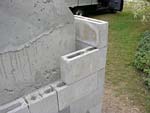
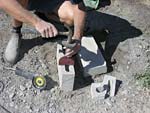
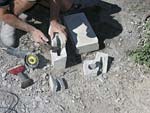
Adding the last cement blocks into the walls. Step by step progress work with blocks on this page contains 122/230 photos.
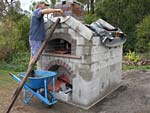
Total images 2197 – 2426 (out of 2,785 from the complete A to Z building sequence.)
3G MTo main page.
The other two; Swishy oven and Original MTo designs to consider, full versions for download or on CD’s. Brick work decorations from either of these ovens can be easily adopted.
Respond to the Finishing work on cement block walls article:
4 Comments
Sorry, the comment form is closed at this time.
Amazing work! That’s incredible how precise it comes out with a little measuring.
You mentioned something about putting the insulation on here and cover it with a tarp. But since it’s the loose vermiculite shouldn’t you put it on top just before putting the roof? Or is the insulation a mix of cement & vermiculite that dries hard?
Best,
Naeem
By Naeem
Hi Naeem,
(* I am terribly sorry for not writing for few days, things were hectic, sometimes no power and no Internet where I was. Downloading the files from you today from home. Will let you know my thoughts on that Mate.)
Thank you for your nice note about our work. The geothermal heating project you have done is marvelous I must say.
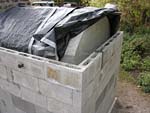
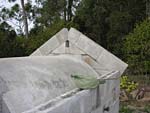
Yes, I always cover the completed insulation with a tarp temporarily till the roof is finished. Water would otherwise soak into the insulation if it started to rain.
The loose in dry form Vermiculite is simply poured everywhere around the oven filling up the gap space between the oven dense part and the outer walls, basically both sides and the back, e.g. images #2498 to #2527. You can work also with Perlite or fly ash instead, in these kind of conditions for these 3 the insulating properties output will be the same for each material.
Then the mixed insulation goes only over the top, 4″ – 100mm thick layer and thicker. Always more insulation amount the better for efficiency or performance -> especially when it comes to long term usage (5+ hours). No matter what type of insulation even though some are more suitable for this or that application it’s always the case. This oven, the whole set up with all segments can be build for a business use it’s how it was calculated.
Here is the page with the thermal insulation types for various applications including details for heat resistant ceramic insulating blankets.
* Builders in cold climates, here is one additional idea; look at the simplicity of this project, everything can be adjusted very easily – means it would be very easily to add 1 extra concrete block (or only one 1/2 size block) to the total width of the oven outside. Keeps the original size of internal firebrick part. Achieved by this will be more space on sides for insulation. The oven will still keep gorgeous proportions. Just a thought for those who, like to play with things, positively over-engineer what they build/make.
Rado
By Rado
Thanks Rado. Last few questions (for a while). Which of these ovens is best for business use in terms of a pizza place? I read that you suggest a 6″ insulation for meats, but if one is planning to use it for bread and pizza, four inch insulation should be sufficient. Right? Also, have you ever built one of these on a wood deck or do you not recommend it?
By Justin
Hi Justin,
Brick oven are often built under a roof, indoor or in an open place e.g. a veranda with an existing or newly built roof above. Look at the project as if you were putting in a fireplace installation. However, wood fired ovens are very heavy for they use the heavy mass for efficiency, it would be only wise if you created opening in the floor and sit the oven on a pad in the ground below the floor you walk on or on footings in the ground under. Other times the surface on which the oven sits can be structurally properly supported under, for instance a second floor in a house Et cetera.
Roasting meats require the same quality oven built like bread baking does. Professional pizzas can be made in these same ovens as a bonus. Especially when you use the oven for business, when you re-fire/reheat the oven on daily bases, it is positive to make the oven more economical by adding better insulation as it will cool down more slowly. In other words, the oven will be still hot and hotter the next day, so the reheating takes a lot less energy therefore also less fuel. Topping the oven with an extra layer(s) of thermal insulation over the top counts. In a similar note also insulating around the sides and at the back plus insulating under the oven. For example, on top of the initial 4 inches of a light-weight thermal insulation you can place another 2″ or 4″ even of a secondary lightweight layer, e.g. a lighter blankets or those insulating pads or any other insulating material. Not a lot of it will be used anyway. You will only benefit, in a few remarkable ways, e.g. reloading more of bread baking batches from one heat up, slow roasting for much longer times at stable temperature as the oven will remain hotter for longer, energy saving on work or fuels costs. With an improperly built oven on the other extreme, one can make fewer things. Consider this aspect; the project and the structure are small, therefore it’s a nice fun to go with some nice over-engineering of the structure in certain places so it’s more robust, this is true for fireplaces, stoves and many other products out there. It won’t be anymore technical, only easier due to less fiddling!
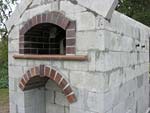
Do the MTo insides and this new MTo design base including the correct smoke box sizing (hood) for the exhaust fumes passage in front. The front page of new MTo mentions more points and details on this.
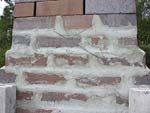
The heavy/dense concrete cladding which is applied over the firebricks is 4″ – 5″ thick.
By Rado